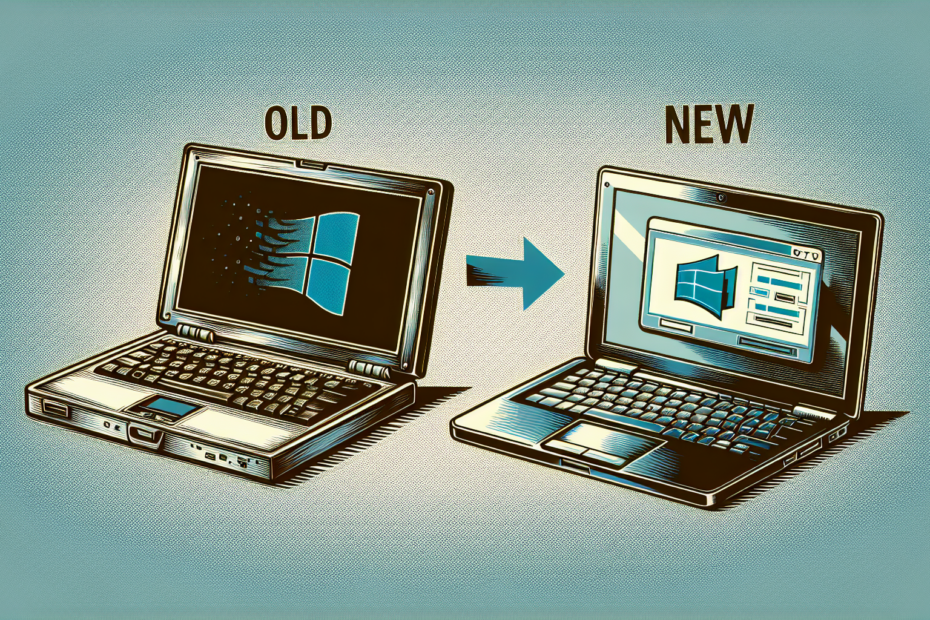


If you’re looking to give your old laptop a fresh lease on life, upgrading it to Windows 10 is a great place to start. With its sleek interface, enhanced security features, and improved performance, Windows 10 has become the preferred choice for many users. But how exactly do you go about upgrading your trusty companion? In this article, we’ll provide you with a step-by-step guide on how to upgrade your old laptop to Windows 10, ensuring a smooth and hassle-free transition into the new operating system. So, get ready to revamp your laptop and unlock its potential with the latest version of Windows! Upgrading your old laptop to Windows 10 can breathe new life into your device and provide you with access to the latest features and security updates. However, before you embark on this journey, there are a few things you need to consider and steps you should take to ensure a smooth and successful upgrade. In this article, we will guide you through each step of the process, from checking system requirements to optimizing Windows 10 performance.

Check System Requirements
The first step in upgrading your old laptop to Windows 10 is to check the system requirements. Windows 10 has certain hardware and software requirements that your device needs to meet in order to install and run the operating system smoothly.
Check RAM and Storage Capacity
Start by checking the amount of RAM (Random Access Memory) in your laptop. Windows 10 requires at least 2GB of RAM for the 64-bit version or 1GB for the 32-bit version. If your laptop has less than the required amount, consider upgrading your RAM for optimal performance.
In addition to RAM, you should also check the storage capacity of your laptop. Windows 10 requires a minimum of 32GB of free space for the 64-bit version or 16GB for the 32-bit version. If your laptop is running low on storage, you may need to delete unnecessary files or consider upgrading to a larger storage device.
Ensure Processor Compatibility
Another important aspect to consider is the compatibility of your laptop’s processor with Windows 10. Most modern processors should be able to handle Windows 10 without any issues. However, if you have an older processor, it’s a good idea to check the documentation provided by the manufacturer or visit their website for any compatibility information.
Check Graphics Card Compatibility
Lastly, check the compatibility of your laptop’s graphics card with Windows 10. While Windows 10 can run on systems with older graphics cards, some advanced features may not be available. To check if your graphics card is compatible, you can visit the manufacturer’s website for more information or consult the user manual that came with your laptop.
Back Up Your Data
Before proceeding with the upgrade, it is essential to back up all your important files and data to prevent any potential loss during the installation process. Here’s what you need to do:
Identify Important Files
Take some time to identify and gather all the important files and documents you want to keep. These could include personal photos, videos, documents, and any other data that you don’t want to lose. Make a list or create a folder on your laptop to easily locate and select these files later during the backup process.
Choose a Backup Method
Once you have identified the files you want to back up, it’s time to choose a backup method. There are several options available, including using an external hard drive, cloud storage services, or even burning the data onto DVDs. Consider your preferences, the amount of data you need to backup, and the available resources to decide which method suits you best.
Transfer Data to an External Hard Drive
If you decide to use an external hard drive for your backup, connect the device to your laptop and follow the prompts to transfer the selected files. You can either use the manual copy and paste method or use specialized backup software to automate the process. Ensure that the transfer is successful and that all your data is securely stored on the external hard drive before continuing with the upgrade.

Review System Compatibility
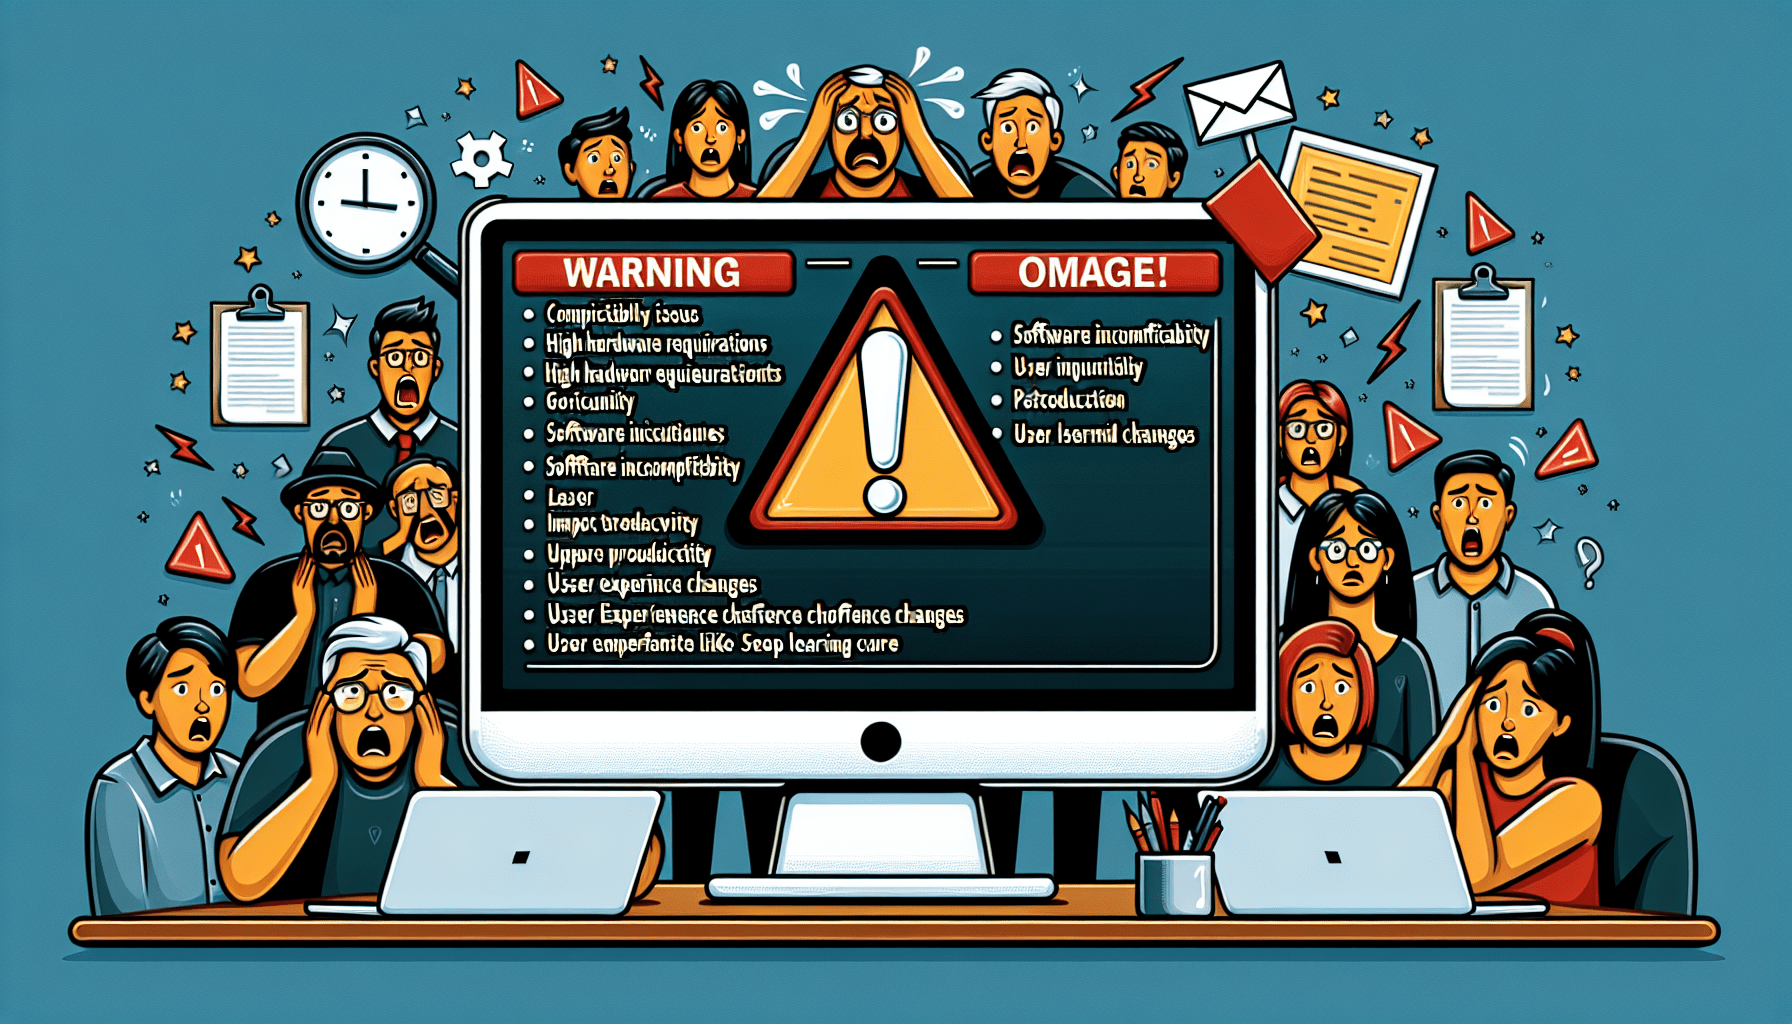
Before proceeding any further, it’s crucial to review the compatibility of your laptop with Windows 10. This involves checking for manufacturer support, researching device drivers, and verifying software compatibility.
Check for Manufacturer Support
Visit the website of your laptop’s manufacturer to see if they provide support and drivers for Windows 10. Look for any official statements or documentation that confirms whether your specific laptop model is compatible with Windows 10. If your laptop is not officially supported, it may still be possible to upgrade, but you may encounter more compatibility issues during the process.
Research Device Drivers
Device drivers play a critical role in the proper functioning of your hardware components. It’s important to check if Windows 10 has compatible drivers available for your laptop’s hardware. Visit the manufacturer’s website or use their provided software to update all the available drivers before starting the upgrade. Having up-to-date drivers can help prevent compatibility issues and ensure a smoother transition to Windows 10.
Verify Software Compatibility
In addition to hardware compatibility, it’s essential to ensure that the software you rely on is compatible with Windows 10. Some older applications may not work properly or may require updates to function correctly with the new operating system. Check the websites of the software developers or contact them directly to confirm if their products are compatible with Windows 10. If any of your essential software is not compatible, consider finding alternatives or seeking out updates or patches from the developers.
Connect to a Stable Internet Connection
To download Windows 10 and carry out the upgrade process, it’s important to have a stable and reliable internet connection. Here are some steps you can take to ensure a smooth connection:
Choose a Reliable Wi-Fi Network
If you plan to connect wirelessly, select a Wi-Fi network that provides a stable and high-speed connection. Avoid using public or shared networks, as they may be slower or less reliable, leading to interruptions during the download or installation process. It’s also a good idea to make sure that your laptop is within range of the router for a strong signal.
Connect via Ethernet Cable
For an even more stable and faster connection, consider connecting your laptop directly to the internet using an Ethernet cable. This method eliminates potential issues with Wi-Fi signals and ensures a consistent data transfer rate throughout the upgrade process. If your laptop doesn’t have an Ethernet port, you can use a USB-to-Ethernet adapter for a wired connection.
Ensure Sufficient Data Allowance
If you have a limited data plan, it’s important to check your data allowance before proceeding with the upgrade. The Windows 10 installation files can be quite large, and downloading them may consume a significant amount of data. To avoid any unexpected charges or running out of data, ensure that you have sufficient allowance or consider upgrading your plan temporarily to accommodate the download and installation process.


Upgrade to Windows 10
Now that you have prepared your laptop and verified its compatibility, it’s time to proceed with the upgrade to Windows 10. This process involves downloading Windows 10, running a compatibility check, and selecting the appropriate upgrade option.
Download Windows 10
To download Windows 10, visit the official Microsoft website and navigate to the Windows 10 download page. You will find a tool called the “Media Creation Tool” that allows you to create a bootable USB drive or download an ISO file. Follow the instructions provided on the website to download the tool and initiate the download of the Windows 10 installation files.
Run Compatibility Check
After the download is complete, run the Media Creation Tool and choose the option to upgrade this PC now. The tool will then perform a compatibility check to ensure that your laptop meets the necessary requirements for a successful upgrade. If any compatibility issues are detected, the tool will provide you with guidance on how to resolve them before proceeding.
Choose Upgrade Option
Once the compatibility check is complete and any necessary updates or fixes have been installed, you will be presented with the option to choose how you want to install Windows 10. You can either upgrade your current version of Windows while keeping your files and applications intact, or perform a clean installation, which involves formatting your hard drive and starting fresh. Choose the upgrade option that suits your needs and follow the prompts to initiate the installation process.
Perform Clean Installation (Optional)
If you prefer to start with a clean slate or encounter significant issues during the upgrade process, you may choose to perform a clean installation of Windows 10. Here’s what you need to do:
Create Installation Media
To perform a clean installation, you will need to create installation media, such as a bootable USB drive or a DVD. This can be done using the Media Creation Tool mentioned earlier. Follow the instructions provided on the Microsoft website to create the installation media using your downloaded Windows 10 files.
Backup and Format Hard Drive
Before proceeding with the clean installation, back up all your important data to an external hard drive or another backup method of your choice. Performing a clean installation will erase all data on your hard drive, so it’s essential to have a backup to restore your files later. Once your data is safely backed up, format your hard drive using the Windows 10 installation media.
Install Windows 10
With your hard drive formatted and the installation media ready, follow the on-screen instructions provided during the Windows 10 installation process. Select your preferred language, region, and other settings, and choose the option to install a fresh copy of Windows 10. Allow the installation to complete and follow the prompted steps to set up Windows 10 according to your preferences.
Resolve Common Upgrade Issues
During the upgrade process, you may encounter some common issues that can be easily resolved. Here are a few steps you can take to address them:

Check for Windows Updates
After the upgrade is complete, make sure to check for any pending Windows updates. Windows 10 regularly releases updates to address bugs, security vulnerabilities, and improve compatibility with various hardware and software. Open the Settings app, go to “Update & Security,” and click on “Check for updates” to ensure that your system is up to date.
Update Device Drivers
If you experience issues with specific hardware components or notice any errors after the upgrade, it’s important to update your device drivers. Visit the manufacturer’s website or use specialized driver updating software to check for and install any available driver updates. Updated drivers can resolve compatibility issues, improve performance, and ensure proper functionality of your laptop’s hardware.
Troubleshoot Activation Issues
If you encounter activation issues after upgrading to Windows 10, there are a few things you can try to resolve the problem. First, make sure that your laptop is connected to the internet. Windows 10 requires an active internet connection for activation. If the issue persists, you can try using a product key or contact Microsoft support for further assistance.
Reinstall and Update Applications
Once you have successfully upgraded to Windows 10, it’s time to reinstall and update your applications. Follow these steps to ensure that your essential software is up to date and ready for use:
Reinstall Compatible Applications
Refer to your list of important files and applications that you backed up earlier. Start by reinstalling the compatible applications using their installation files or by downloading them from the respective developers’ websites. Take note of any product keys or activation codes required during the installation process, as they may be needed to validate your licenses.
Check for App Updates
After reinstalling your applications, check for any available updates. Most software applications regularly release updates to improve performance, fix bugs, and enhance security. Open each application and look for an update option in the settings or preferences menu. Alternatively, you can visit the developer’s website or use an automatic software updater to check for updates and install them.
Configure App Settings
Once all your applications are up to date, take some time to configure their settings according to your preferences. These settings can include display options, notification preferences, automatic updates, and any other customization features available in each application. Configuring your applications to meet your specific needs will enhance your overall user experience with Windows 10.
Restore Backed Up Data
Now that your applications are reinstalled and up to date, it’s time to restore your backed-up data to your laptop. Follow these steps to ensure that your files are transferred to their appropriate locations and verify the integrity of the data:
Connect External Hard Drive
Connect the external hard drive or backup device containing your backed-up data to your laptop. Ensure that the connection is secure and that the device is recognized by your laptop’s operating system.
Transfer Files to Appropriate Locations
Using your preferred method, transfer the backed-up files from the external hard drive to their appropriate locations on your laptop. This could include extracting files from a compressed backup file, manually copying and pasting files, or using backup software to automate the process. Take care to place files in the correct folders and directories to ensure proper organization and accessibility.
Verify Data Integrity
After transferring your files, it’s important to verify their integrity to ensure that no data was lost or corrupted during the backup and restoration process. Open individual files, preview photos and videos, and check document properties or metadata to confirm that they are in the same state as before the upgrade. If any files are missing or corrupted, refer to your backup and repeat the transfer process for those specific files.
Optimize Windows 10 Performance
Once you have completed the upgrade process and restored your data, it’s a good idea to optimize your laptop’s performance for Windows 10. Here are a few steps you can take to enhance the speed and efficiency of your device:
Uninstall Unnecessary Applications
Over time, your laptop may accumulate unnecessary applications that consume system resources and slow down overall performance. Review the list of installed applications and uninstall any that are no longer needed or not compatible with Windows 10. This will free up storage space and reduce background processes, resulting in a faster and smoother experience.
Disable Startup Programs
Many applications run automatically when you start your laptop, causing it to take longer to boot up and potentially affecting system performance. Open the Task Manager by pressing Ctrl + Shift + Esc, navigate to the “Startup” tab, and disable any unnecessary programs from running at startup. This will streamline the boot process and reduce the overall system load.
Run Disk Cleanup and Defragmentation
Windows 10 includes built-in tools for disk cleanup and defragmentation, which can help optimize your laptop’s storage performance. Open the Start menu, search for “Disk Cleanup” and “Defragment and Optimize Drives,” and run these tools periodically to remove unnecessary files, free up disk space, and improve file access times. This will result in faster read and write speeds and overall improved system responsiveness.
By following these steps, you can successfully upgrade your old laptop to Windows 10 and enjoy all the benefits of the latest operating system. Remember to always check system requirements, back up your data, review compatibility, connect to a stable internet connection, and optimize your performance to ensure a seamless transition. Windows 10 offers a range of exciting features and enhanced security, making it a worthy investment for your old laptop. So, go ahead and give your trusty companion a new lease on life with the upgrade to Windows 10.