


Are you constantly encountering frustrating Windows update errors on your laptop? No need to worry, as this article will provide you with practical tips and solutions to resolve these issues. Whether it’s error codes, failed updates, or slow downloads, we’ve got you covered with simple yet effective methods to ensure smooth and successful updates on your Windows laptop. Say goodbye to those annoying error messages and get ready for hassle-free updates!
Understanding Windows Update Errors
Definition of Windows update errors
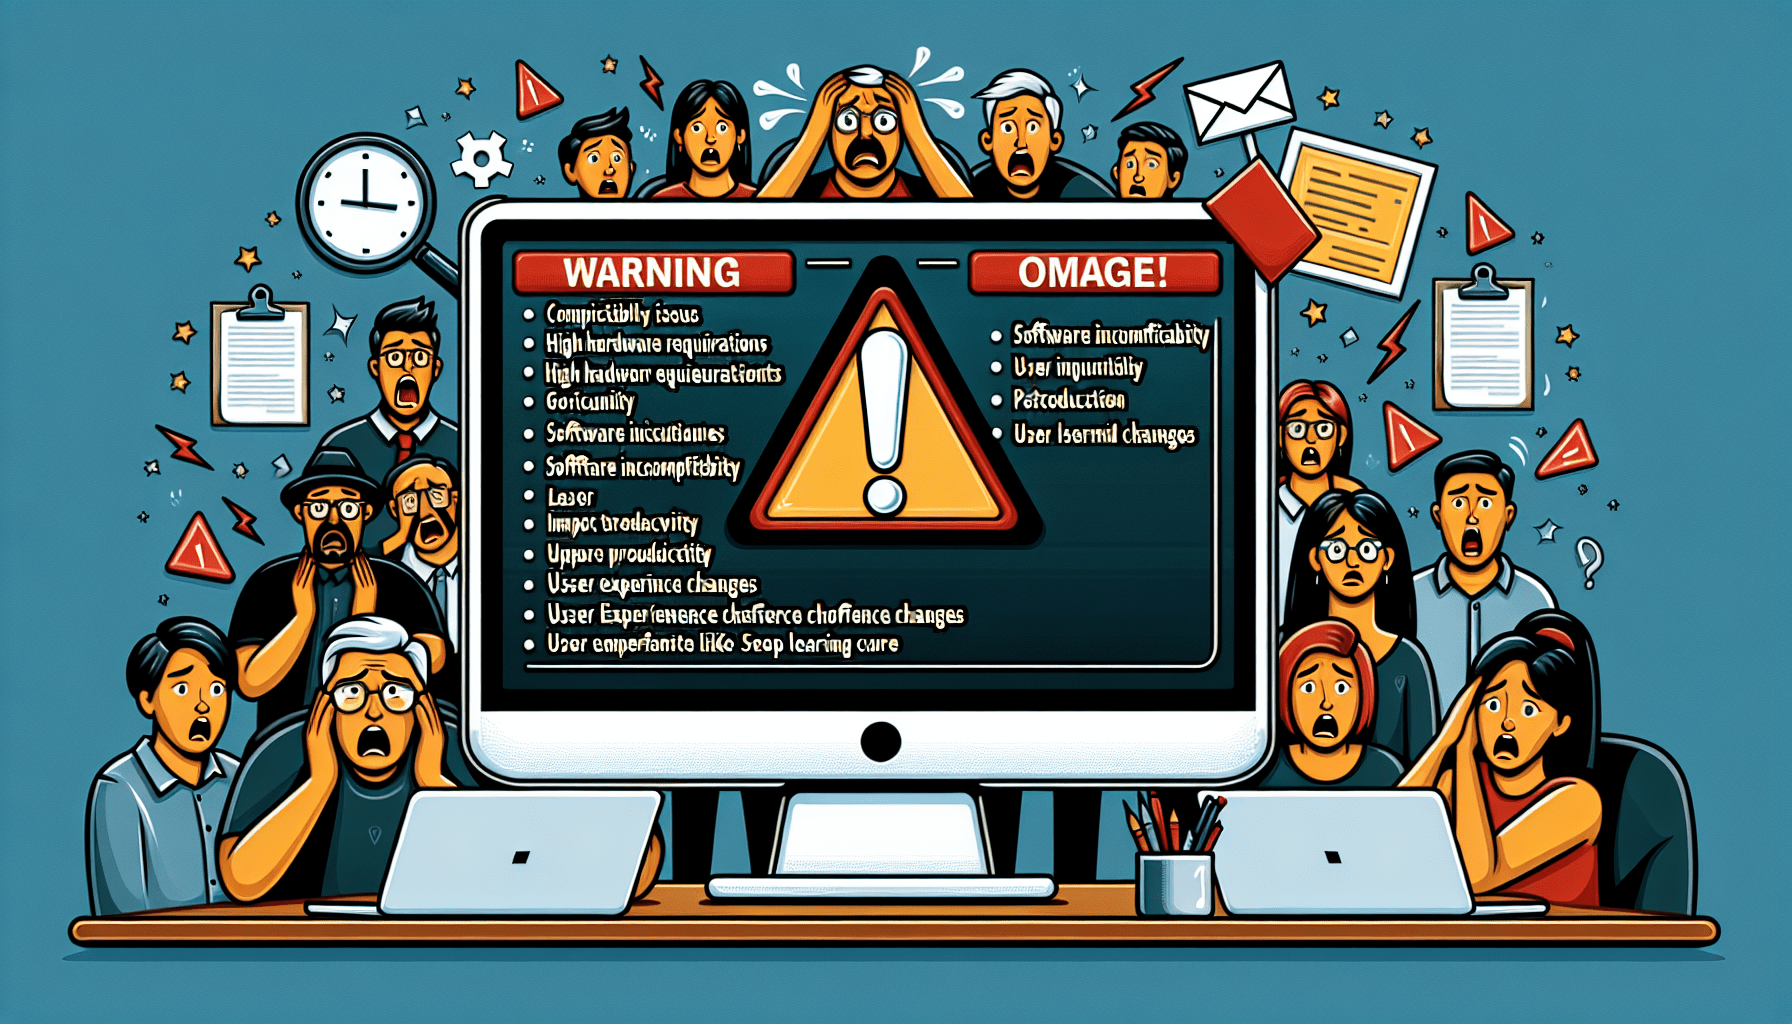
Windows update errors are issues that occur when the Windows operating system is unable to complete the update process successfully. These errors can prevent you from installing the latest updates and patches released by Microsoft, which are essential for the smooth functioning and security of your laptop.

Common types of Windows update errors
There are several types of Windows update errors that you may encounter on your laptop. Some of the most common ones include:
- Error 0x80073712: This error occurs when some system files required for the update are missing or corrupted.
- Error 0x80070005: This error typically indicates that there are insufficient permissions to install the update.
- Error 0x80246007: This error suggests that Windows is unable to download the necessary files for the update.
- Error 0x800f081f: This error occurs when the required files for the update are not found.
- Error 0x8024402f: This error indicates a problem with the Windows Update service or connectivity issues.
Reasons for Windows update errors
Various factors can contribute to Windows update errors on your laptop. Some common reasons include:
- Internet connectivity issues: If your internet connection is unstable or too slow, it can prevent the update from downloading or installing properly.
- Insufficient disk space: Updates often require a certain amount of free disk space to be installed. If your laptop does not have enough space, the update process may fail.
- Corrupted system files: If essential system files are corrupted or missing, it can lead to update errors.
- Outdated or incompatible drivers: If the drivers on your laptop are outdated or incompatible with the new updates, it can cause errors during the update process.
- Firewall or antivirus interference: Sometimes, firewalls or antivirus programs can prevent the update from being installed, considering it a potential threat.
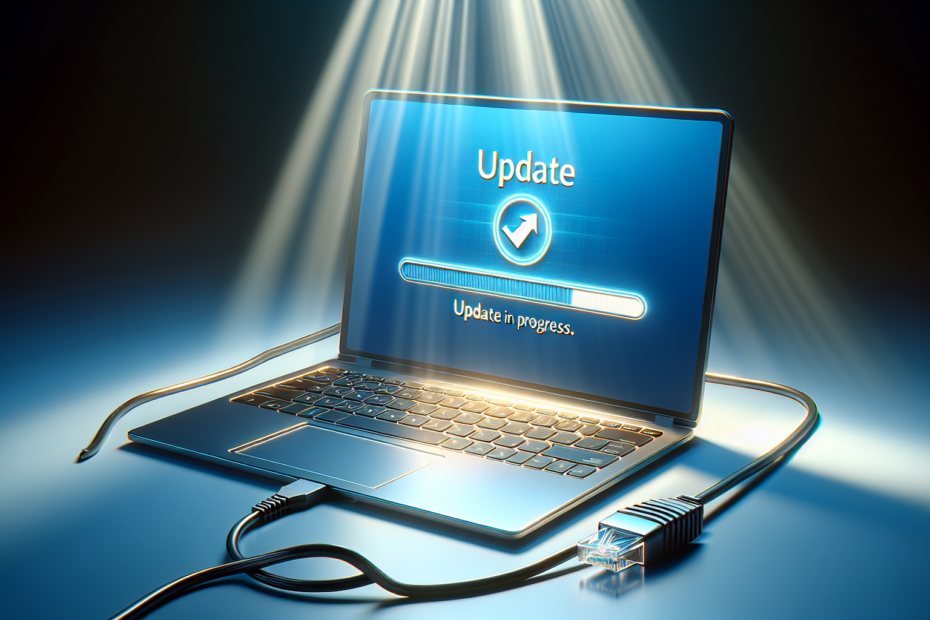
Checking Your Internet Connection
Importance of internet connection for Windows updates
A stable and reliable internet connection is crucial when it comes to downloading and installing Windows updates on your laptop. Updates are typically released by Microsoft to enhance security, fix bugs, and improve the overall performance of the operating system. Without a proper internet connection, you may experience difficulties in keeping your laptop up to date and risk missing out on important updates.
How to check your internet connection
To check your internet connection’s stability, follow these simple steps:
- Open your web browser and navigate to a website that you frequently visit.
- If the website loads quickly and without any issues, it indicates that your internet connection is working fine.
- However, if the website takes too long to load or displays an error message, your internet connection may be unstable.
Troubleshooting Internet connection problems
If you encounter internet connection issues, try the following troubleshooting steps:
- Restart your router: Turn off the router, wait for a few seconds, and then turn it back on. This can help resolve temporary connectivity issues.
- Check cables and connections: Ensure that all cables are properly connected and undamaged.
- Move closer to the router: If you are using Wi-Fi, try moving closer to the router to improve the signal strength.
- Disable VPN or proxy: If you have a VPN or proxy enabled, try disabling them temporarily to see if it resolves the connectivity problem.
- Contact your internet service provider: If the issue persists, reach out to your internet service provider for further assistance.
Ensuring Enough Disk Space for Updates
How much disk space do updates require
Windows updates often require a significant amount of disk space to be successfully installed. The exact disk space required can vary depending on the size and nature of the update. However, it is recommended to have at least 20 GB of free disk space to accommodate the updates comfortably.
How to check available disk space
To check the available disk space on your laptop, follow these steps:
- Open File Explorer by pressing the Windows key + E.
- Right-click on the drive where Windows is installed (usually the C: drive) and select Properties from the context menu.
- In the General tab, you will see a visual representation of the used and free disk space.
How to create space for Windows updates
If you find that your laptop does not have enough free disk space for updates, there are several ways to create additional space:
- Uninstall unnecessary programs: Go to the Control Panel, select “Uninstall a program,” and remove any programs that you no longer use or need.
- Delete temporary files: Use the Disk Cleanup tool to remove temporary files and free up disk space. Press the Windows key + R, type “cleanmgr,” and hit Enter.
- Move files to an external storage device: Transfer large files or folders to an external hard drive or USB storage device to free up space on your laptop.
- Disable hibernation: If you rarely use the hibernate feature, you can disable it to regain some disk space. Open Command Prompt as an administrator and type “powercfg.exe /hibernate off” without quotes, then press Enter.
- Compress files and folders: Right-click on a file or folder, select Properties, and enable the “Compress contents to save disk space” option in the General tab.
Remember to create enough free disk space not only for the current update but also for future updates to avoid facing disk space issues again.
Running Windows Update Troubleshooter
Understanding the role of Windows Update Troubleshooter
Windows Update Troubleshooter is a built-in diagnostic tool provided by Microsoft to help identify and resolve issues related to Windows updates. It scans your laptop for potential problems caused by update errors and tries to fix them automatically.
Steps to run Windows Update Troubleshooter
To run the Windows Update Troubleshooter, follow these steps:
- Press the Windows key + I to open the Settings app.
- Click on “Update & Security” and then select “Troubleshoot” from the left-hand menu.
- Scroll down and locate “Windows Update” under the “Get up and running” section.
- Click on “Windows Update” and select “Run the troubleshooter.”
- Follow the on-screen instructions and allow the troubleshooter to scan your laptop for update issues.
- If any issues are detected, the troubleshooter will attempt to fix them automatically.
Interpreting the results of Windows Update Troubleshooter
After running the Windows Update Troubleshooter, it will display the results of its diagnostic scan. The troubleshooter can fall into three categories:
- Problems found and fixed: If the troubleshooter detected and resolved any issues, it will display a summary of the problems fixed.
- Problems found but not fixed: If the troubleshooter identified problems but was unable to fix them, it will provide a description of the detected issues.
- No problems found: If the troubleshooter did not find any problems related to Windows updates, it will display a message stating no issues were found.
In the case of “Problems found but not fixed,” the troubleshooter often suggests potential solutions or provides additional recommendations to resolve the detected issues.
Manually Resetting Windows Update Components
Understanding Windows Update components
Windows Update relies on various components working together to ensure the successful installation of updates. Sometimes, these components can become corrupted or misconfigured, leading to update errors. Manually resetting the Windows Update components can help resolve such issues.

Steps to manually reset update components
To manually reset the Windows Update components, follow these steps:
- Open Command Prompt as an administrator by right-clicking the Start button and selecting “Command Prompt (Admin).”
- Stop the Windows Update, BITS, Cryptographic, and MSI Installer services by typing the following commands one by one, pressing Enter after each:
net stop wuauserv net stop bits net stop cryptSvc net stop msiserver - Rename the Software Distribution and Catroot2 folders by typing the following commands, pressing Enter after each:
ren C:\Windows\SoftwareDistribution SoftwareDistribution.old ren C:\Windows\System32\catroot2 Catroot2.old - Start the Windows Update, BITS, Cryptographic, and MSI Installer services by typing the following commands, pressing Enter after each:
net start wuauserv net start bits net start cryptSvc net start msiserver - Close the Command Prompt and restart your laptop.
Potential problems and solutions
While manually resetting Windows Update components can often resolve update errors, you may encounter a few potential problems during the process:
- Insufficient administrative privileges: Ensure that you are logged in with an account that has administrative privileges to execute the commands successfully.
- Inability to stop services: If any of the services cannot be stopped, try restarting your laptop and then attempting the process again.
- Reinstalling updates: After resetting the components, your laptop may attempt to reinstall the previously failed updates. If any errors persist, consider seeking further assistance from professional support or using the Windows Update Troubleshooter to identify the specific issue.
Updating Your Drivers
The role of drivers in Windows updates
Drivers act as the intermediaries between the operating system and various hardware components of your laptop. Windows updates often include driver updates to ensure compatibility, enhance performance, and fix known issues. Keeping your drivers up to date can pave the way for a smoother update process.
How to find and install driver updates
To find and install driver updates, follow these steps:
- Press the Windows key + X and select “Device Manager” from the menu.
- In the Device Manager window, expand the categories to locate the specific hardware component you want to update.
- Right-click on the hardware device and select “Update Driver.”
- Choose the option to search automatically for updated driver software. Windows will search for the latest driver version online and install it if available.
- If Windows does not find any updates, you can visit the manufacturer’s website for your laptop or the hardware device and download the driver manually. Follow the provided instructions to install the downloaded driver.
When to consult manufacturer’s directions for driver updates
While Windows Update generally covers most driver updates, there may be instances where it is advisable to consult the manufacturer’s directions for updating drivers, especially in the following scenarios:
- The manufacturer recommends downloading drivers directly from their website for specific hardware components.
- You have uncommon or specialized hardware that requires specific driver updates.
- You have encountered issues or incompatibilities that may be resolved by installing the latest drivers from the manufacturer.
Following the manufacturer’s instructions ensures that you obtain the most up-to-date and compatible drivers for your laptop.
Disabling Your Firewall Temporarily
Why your firewall may interfere with Windows updates
Firewalls play a critical role in protecting your laptop from unauthorized network access and potential threats. However, sometimes a firewall can mistake legitimate Windows update processes for malicious activity and block them. Temporarily disabling your firewall can help determine if it is the cause of the update errors.
Steps to disable your firewall
To disable your firewall temporarily, follow these general steps:
- Press the Windows key + I to open the Settings app.
- Click on “Update & Security” and then select “Windows Security” from the left-hand menu.
- In the Windows Security window, select “Firewall & network protection.”
- Click on the active network profile (e.g., Private network) and then toggle the switch under “Firewall” to turn it off.
- Restart your laptop and attempt to install the Windows updates.
Remembering to reinstate your firewall
After troubleshooting the Windows update errors, it is crucial to reinstate your firewall to ensure the ongoing security and protection of your laptop. Follow the same steps mentioned for disabling the firewall, but toggle the switch to turn it back on.
Performing a Clean Boot
What is a clean boot and why it may help
A clean boot is a troubleshooting method that allows you to start your laptop with only the essential services and drivers running. By performing a clean boot, you can identify whether any third-party software is interfering with the Windows update process. This method can help diagnose and resolve update errors caused by conflicting software.
How to perform a clean boot
To perform a clean boot, follow these steps:
- Press the Windows key + R, type “msconfig,” and hit Enter to open the System Configuration window.
- In the General tab, select the “Selective startup” option, and uncheck the box next to “Load startup items.”
- Switch to the Services tab, check the box next to “Hide all Microsoft services,” and then click on “Disable all.”
- Go to the Startup tab and click on “Open Task Manager.”
- In the Task Manager, select each startup item and click on “Disable” for each item.
- Close the Task Manager and click on “Apply” in the System Configuration window.
- Restart your laptop and attempt to install the Windows updates.
What to do after a clean boot
After performing a clean boot and successfully installing the Windows updates, you can gradually enable the disabled services and startup items. Follow these steps:
- Open the System Configuration window by pressing the Windows key + R, typing “msconfig,” and pressing Enter.
- In the General tab, select the “Normal startup” option, and check the box next to “Load startup items.”
- Switch to the Services tab, uncheck the box next to “Hide all Microsoft services,” and click on “Enable all.”
- Go to the Startup tab in the Task Manager and enable each startup item one by one, restarting your laptop after enabling each item.
By enabling services and startup items gradually, you can pinpoint specific software or services that may be causing conflicts with the Windows update process.
Reinstalling Windows Operating System
When to consider reinstalling Windows
If you have exhausted all other troubleshooting methods and continue to encounter persistent update errors, reinstalling the Windows operating system may be the last resort. Reinstalling Windows can help eliminate any deeply rooted system issues that may be interfering with the update process.
How to back up your data before reinstalling
Before proceeding with a Windows reinstallation, it is crucial to back up your important data to prevent any loss. Follow these steps to back up your data:
- Connect an external hard drive or USB storage device to your laptop.
- Open File Explorer and navigate to the files and folders that you want to back up.
- Select the desired files and folders, and right-click on them.
- Choose “Copy” from the context menu.
- Open the external storage device in File Explorer and right-click inside the window.
- Select “Paste” to copy the selected files and folders to the external storage device.
Ensure that you have backed up all your important files, documents, photos, and any other data that you want to preserve before proceeding with the Windows reinstallation.
Steps to reinstall Windows
To reinstall Windows, follow these steps:
- Create a bootable USB drive or a Windows installation disc using a blank USB drive or DVD.
- Connect the bootable USB drive or insert the installation disc into your laptop.
- Restart your laptop and access the boot menu by pressing the appropriate key (typically F12, F11, or Esc) during startup.
- Select the bootable USB drive or installation disc as the boot device from the menu.
- Follow the on-screen instructions to start the Windows installation process.
- When prompted, select the desired language, time zone, and keyboard layout.
- Choose the option to install a fresh copy of Windows and select the appropriate partition where the previous Windows installation is located.
- Follow the remaining on-screen instructions to complete the installation process.
Remember to reinstall all the necessary drivers, software, and applications after reinstalling Windows to ensure the proper functioning of your laptop.
Seeking Professional Help for Persistent Issues
When to seek professional tech support
If you have tried all the troubleshooting steps mentioned above and are still experiencing persistent Windows update errors, it may be time to seek professional tech support. Here are some signs that indicate you should consider professional help:
- The Windows update errors keep recurring, and you are unable to install any updates.
- You are uncomfortable performing advanced troubleshooting steps on your own.
- You have already followed various online guides and tutorials but have not been able to resolve the issues.
Potential sources for tech support
When seeking professional tech support, you have several options:
- Manufacturer support: Contact your laptop manufacturer’s support team for assistance. They can guide you through specific troubleshooting steps tailored to your laptop model.
- Microsoft support: Reach out to Microsoft’s technical support team for help with Windows update errors. They can provide guidance and recommendations based on your specific issue.
- Local repair services: Consider consulting authorized repair centers or local professionals who specialize in laptop repairs. They can diagnose and resolve the update errors efficiently.
Safe practices when seeking tech support
When seeking tech support, it is essential to practice safe habits to protect your personal information and ensure a reliable service:
- Verify the legitimacy: Ensure that the service provider or technician you engage with is reputable, trusted, and has positive customer reviews.
- Protect your data: Do not share sensitive personal information unless you are certain about the legitimacy and security of the professional or service you are seeking.
- Backup your data: Before seeking professional help, back up your important files and sensitive data to prevent any potential loss during the troubleshooting process.
- Keep records: Maintain a record of your interactions, including call recordings, support ticket numbers, and the names of the professionals you communicate with, for future reference and documentation.
By following these safe practices, you can ensure a smooth and secure experience when seeking professional tech support for persistent Windows update errors.
In conclusion, encountering Windows update errors on your laptop can be frustrating, but with the right understanding and troubleshooting steps, you can overcome these issues. By checking your internet connection, ensuring enough disk space, running Windows Update Troubleshooter, manually resetting Windows Update components, updating your drivers, temporarily disabling your firewall, performing a clean boot, and considering a Windows reinstallation as a last resort, you can resolve most common update errors. However, if you continue to face persistent issues, it is always advisable to seek professional tech support to receive expert guidance and assistance. Stay proactive and keep your laptop updated to enjoy the latest features, enhanced security, and improved performance provided by Windows updates.